Imagine your 3D printer is a meticulous tailor, smoothing out those pesky wrinkles in your fabric, only, this fabric is made of plastic. Welcome to the intriguing realm of ironing in 3D printing. While you may associate the term ‘ironing’ with wrinkled shirts and laundry day, this nifty technique can transform 3D printed objects into a smoother, more refined version of themselves. In this text, we’ll dive deep into what ironing means in the context of 3D printing, why it’s a game changer, and how it all works. So, grab your favorite beverage, and let’s get started.
Understanding the Basics of 3D Printing
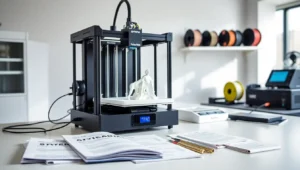
3D printing, often hailed as the future of manufacturing, has revolutionized how products are created. Instead of traditional methods that involve cutting, molding, or assembling, 3D printing constructs objects layer by layer from a digital design. This additive manufacturing process employs various materials, such as PLA, ABS, and PETG, allowing for a myriad of applications ranging from prototypes to intricate artistic designs.
The initial design gets sliced into individual layers that are fed into the printer, usually using a slicer software. The printer then deposits material along these layers, fusing them together through heat or chemical processes. This technology enables precision and creativity but comes with its fair share of challenges, like achieving a smooth surface finish, which brings us to the topic at hand.
What Is Ironing?
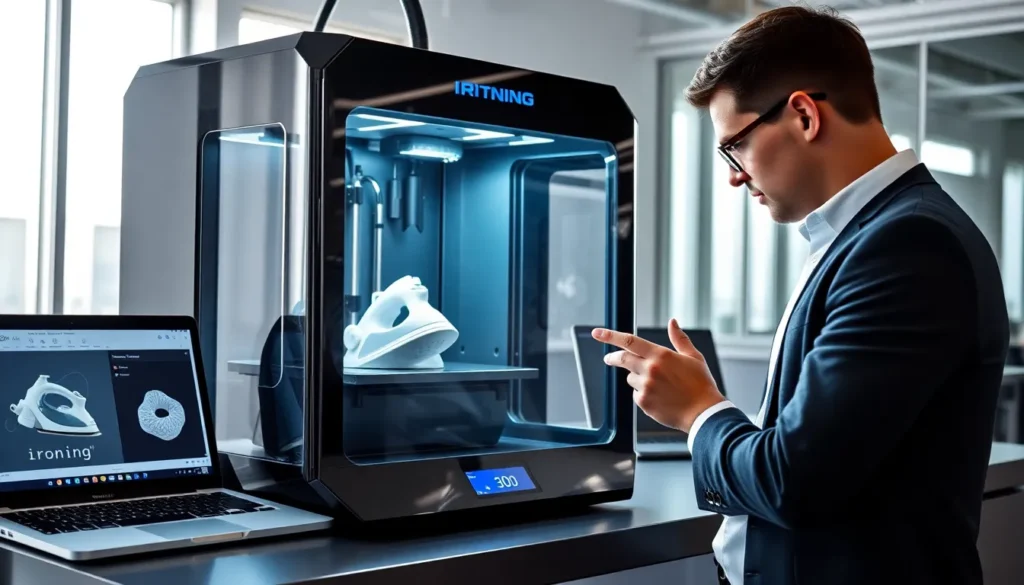
Ironing in 3D printing refers to a specific technique used to enhance the surface quality of a printed model. During the final stages of printing, the printer makes an additional pass over the top layers of the object. This ‘ironing’ process essentially levels out the surface, smoothing out any imperfections left from the multi-layered printing process. The result is a sleeker, more aesthetically pleasing finish, think of it as the finishing touch that elevates a model from ‘meh’ to ‘wow.’
The technique is akin to a chef garnishing a beautifully plated dish. By ensuring that the top layers are melted slightly and squished down, it eliminates the visible lines typically seen in layer-by-layer prints.
Why Use Ironing in 3D Printing?
In a world where appearance can make or break a product, the need for a polished finish has never been more crucial. Ironing enhances the overall look, but it also has practical benefits. It can improve the aesthetic appeal of designed objects, making them more market-ready. For hobbyists and professionals alike, a smooth finish not only elevates the visual aspect but reduces the need for extensive post-processing. This technique is especially beneficial for items like figurines, prototypes, or even functional parts where a smooth surface might reduce friction or enhance fit.
How Ironing Works in 3D Printing
The ironing process is straightforward but highly effective. When activated in the slicing software, it works by modifying the print head’s movements during the final layers. As the printer approaches the completion of the model, it recalibrates to perform a second, lighter pass over the top layer.
Instead of depositing more material, it slightly melts the already deposited layer, thereby smoothing out any bumps or gaps. Think of it as a gentle massage therapy session for your print: just enough heat is applied to soften the surface without risking the integrity of the shape. This precision in movement ensures that only the top surface is affected, so maintaining the model’s details and features.
Benefits of Ironing in 3D Printing
Ironing in 3D printing comes with a bouquet of benefits that can significantly improve both the user and product experience.
- Enhanced Aesthetics: The primary benefit is the improved surface quality. Models appear more professional and attractive, making them more marketable, yes, even a hobbyist can sell better with a well-finished print.
- Reduced Post-Processing: Traditional smoothing techniques can be labor-intensive. Ironing decreases the need for sanding or chemical smoothing, saving both time and effort.
- Improved Functionality: For functional parts, a smoother finish can minimize friction and improve performance, crucial for moving parts or assemblies.
- User Customization: Hobbyists can mix and match settings to suit project needs, making ironing a versatile tool in the printing arsenal.
Limitations of Ironing in 3D Printing
While ironing is a fantastic technique, it’s not without its challenges. Firstly, the material used must be compatible with the ironing process: some filaments do not respond well to the additional melting, which can lead to warping or loss of detail. Also, the process can increase printing time, as the printer must make extra passes.
Ironing also may not be suitable for every model. Highly detailed objects or those with large overhangs can present problems, as the altered heat could distort finer details. Hence, it’s essential to evaluate models before applying this technique.
Best Practices for Implementing Ironing
To reap the most benefits from ironing in 3D printing, users should follow a few best practices:
- Choose the Right Filament: Not all filaments are suitable for ironing. ABS and PLA generally respond well, while others may not yield the same results.
- Optimize Slicing Settings: Adjust the ironing settings in your slicing software, including pass height and speed, for optimal results.
- Test Before Full Prints: Conduct test prints to ensure that the model can withstand the ironing process without losing detail.
- Monitor Cooling: Ensure the model is adequately cooled: too much cooling can make it brittle, while too little can lead to warping.