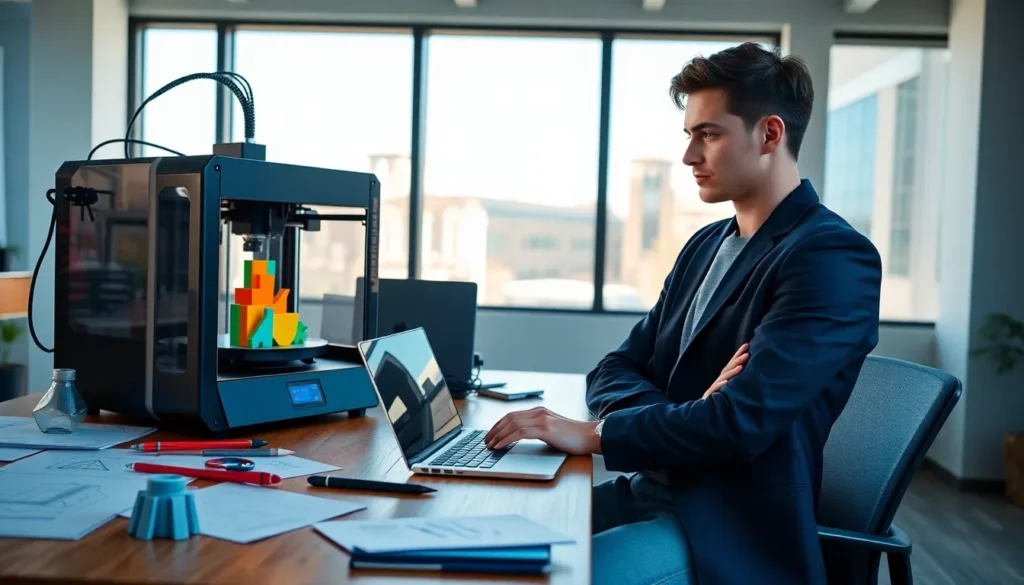
Ever wondered how to transform your wild ideas into tangible objects? Designing for 3D printing can feel like magic, one minute you’re sketching your concept, and the next, you’re unboxing a real-life version of it. But don’t let that excite you too much. The process involves more than just slapping some designs into software and pressing print. Whether you’re crafting a miniature model or a complex mechanical part, understanding the intricacies of 3D printing can save both time and resources. So grab your favorite beverage and let’s jump into the colorful world of 3D design.
Table of Contents
ToggleUnderstanding 3D Printing Technology

At its core, 3D printing is about layering materials to create objects from a digital file. But what does that mean in practical terms? Imagine it as a high-tech cake-baking process, where each layer adds a new flavor or texture to the final product.
In this innovative realm, several technologies stand out. Fused Deposition Modeling (FDM) melts plastic filament and layers it upon itself, making it approachable for beginners. Stereolithography (SLA) involves a magical UV light that solidifies resin layer by layer, the results? Mind-boggling detail. Each process has a role, and determining which suits your project is your first step to becoming a design guru.
Types Of 3D Printing Processes
Diving deeper, you’ll find a buffet of 3D printing processes, each with its flavor and unique characteristics.
- FDM: As mentioned earlier, this is the most common method. It’s budget-friendly and perfect for prototyping.
- SLA: For those seeking fine detail, look no further. SLA printers use ultraviolet light to cure resin into a hardened plastic model, which is particularly useful for intricate designs.
- Selective Laser Sintering (SLS): This technique employs a laser to fuse powdered material, ideal for creating functional parts.
- Multi Jet Fusion (MJF): This process uses a similar approach to SLS but applies a binding agent alongside the heat for a smoother finish.
Choosing the right method hinges on factors like the complexity of the design, budget, and material requirements.
Key Considerations In 3D Design
Designing for 3D printing isn’t as straightforward as it may seem. There are vital considerations that can make or break a project.
Design Guidelines For 3D Printing
- Overhangs: If a design includes parts that hang or extend beyond the base, they may require support structures to ensure the print holds its shape.
- Wall Thickness: Consider the thickness of your walls, too thin? They may break: too thick? You could waste material.
- Tolerance and Fit: If you’re creating parts that need to fit together, accounting for tolerances is crucial. A perfect fit might need a little wiggle room to account for printing inaccuracies.
- Scale and Size: Manage your expectations when it comes to size limitations of 3D printers. Bigger isn’t always better, especially with intricate designs that may lose detail at large scales.
Choosing The Right Materials
Material selection significantly impacts both functionality and appearance. Here’s a breakdown of popular options:
- PLA: An eco-friendly plastic that’s great for simple designs. It’s easy to print with and is biodegradable, making it a popular choice for beginners.
- ABS: This durable plastic holds up better to high temperatures and is ideal for functional parts. But, it requires higher printing temperatures and may emit fumes during printing.
- PETG: Known for durability and flexibility, it’s perfect for parts that undergo stress. It’s also food-safe, so it’s a good choice for kitchen gadgets.
Understanding properties like tensile strength, heat resistance, and flexibility will guide designers in choosing the most suitable material for their specific needs.
Software Tools For 3D Printing Design
An essential part of the design process involves the software that brings ideas to life. Some notable programs include:
- Tinkercad: Perfect for newcomers, it provides an intuitive interface for creating 3D models quickly.
- Fusion 360: This powerful application caters to more advanced users, offering features for parametric design and simulation.
- Blender: Ideal for artistic projects, it embraces both modeling and animation capabilities, suitable for creatives looking to push boundaries.
Each software package often has its learning curve, but the investment in time will reap benefits in the final product.
Prototyping And Testing Your Designs
Prototyping is crucial in the 3D design process. It allows designers to assess their models in the physical realm.
- Print a Prototype: Start with a smaller scale model to test your design.
- Evaluate Functionality: Check for any fitting issues or structural weaknesses.
- Iterate on Feedback: Once you test your prototype, make the necessary adjustments based on what worked and what didn’t.
This iterative process enhances the final design. Each iteration brings you closer to achieving that ideal blend of aesthetics and functionality.


